Sign In
Welcome! Sign In to personalize your Cat.com experience
If you already have an existing account with another Cat App, you can use the same account to sign in here
Register Now
One Account. All of Cat.
Your Caterpillar account is the single account you use to log in to select services and applications we offer. Shop for parts and machines online, manage your fleet, go mobile, and more.
Account Information
Site Settings
Security
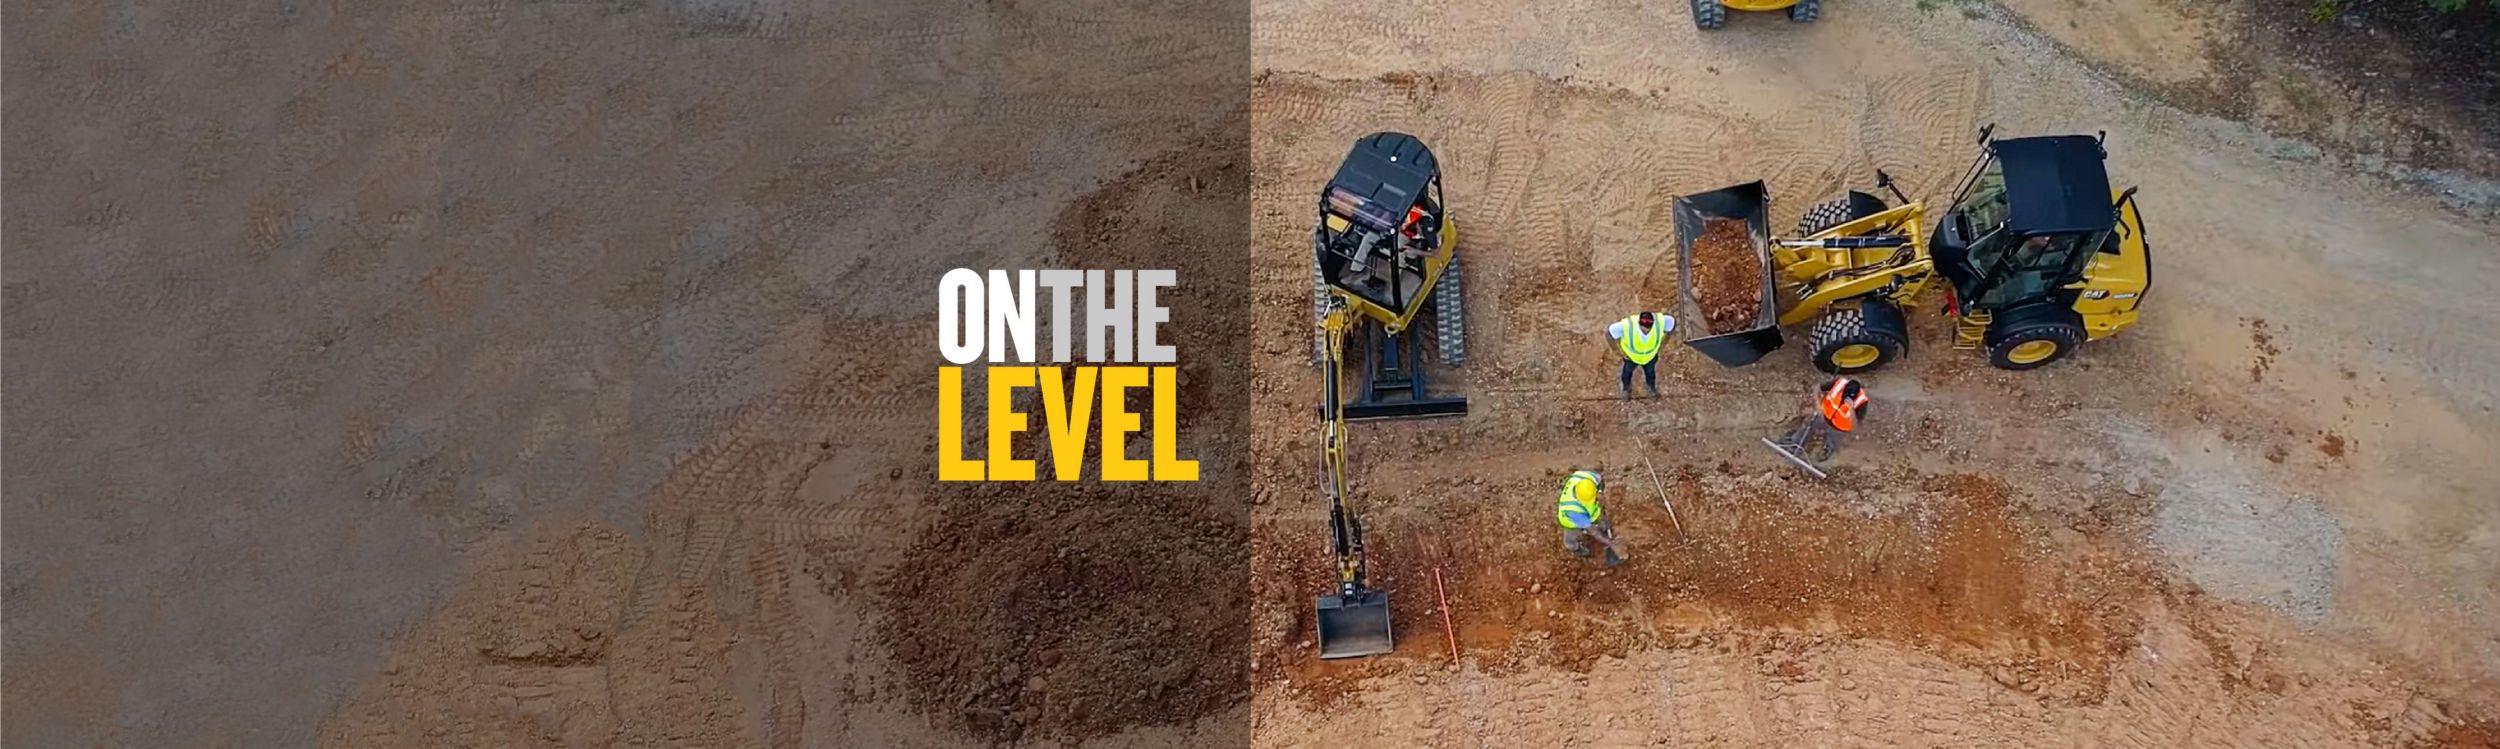
Top 11 Myths About Building a Retaining Wall
Build a better retaining wall with these tips from Techo-Bloc.
Caitlin Maddock-Bahr | Social Media & Digital Strategy Manager
The ability to construct retaining walls is key to the success of your construction business. You need to know the most efficient procedures and the best equipment to use to save you and your customers money. Unfortunately, there is a lot of misinformation about retaining walls in the industry.
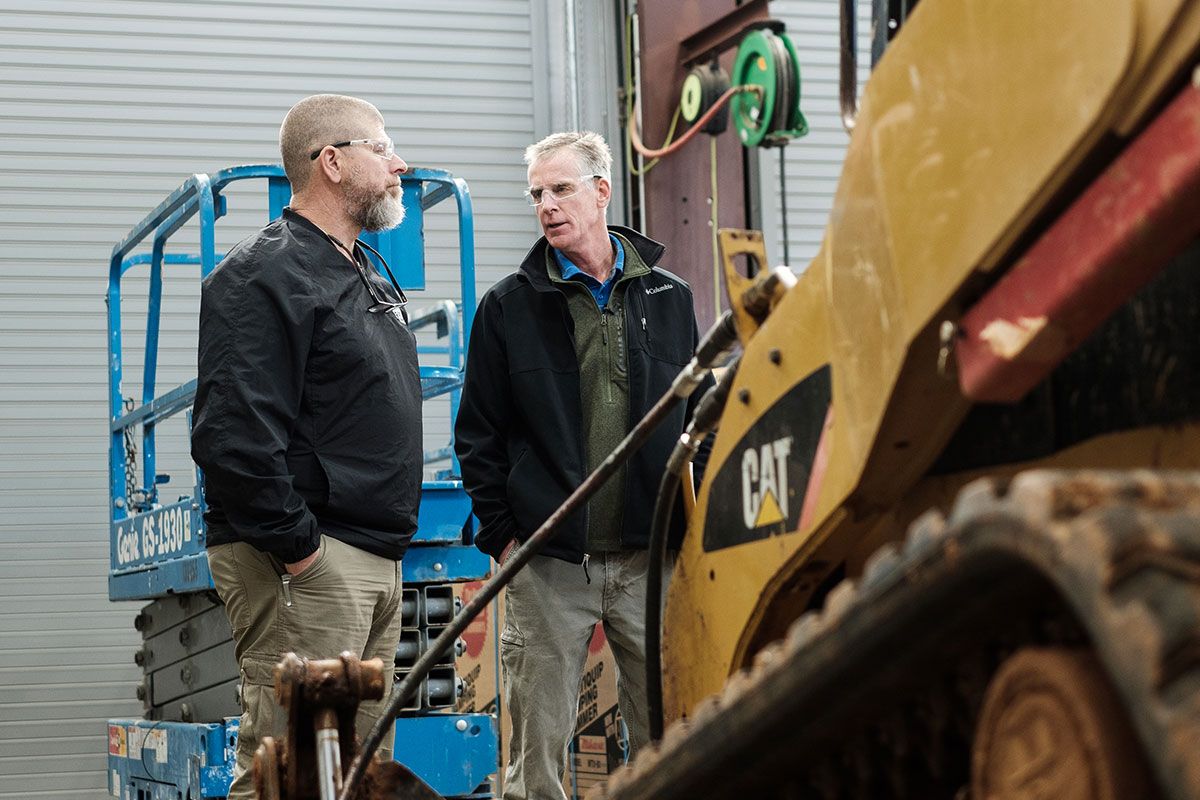
We sat down with the pros at Techo-Bloc—Pete Baloglou, Director of Education and Information, and Alex Cadieux, Director of B2B Marketing—to learn some common myths about retaining walls and how to build them right.
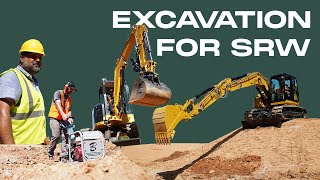
Myth #1: Hydrostatic pressure is the most common reason retaining walls fail.
The reason most retaining walls fail is not because of water; it’s because the proper groundwork was not laid in the first place.
“The key to success in building a retaining wall is excavation,” says Pete. “People blame it on water and hydrostatic pressure, but it’s the lateral load pressure of soil that causes walls to fail. It’s just exaggerated by water pressure.”
Digging the proper trench is the first step to success. To establish the depth and width of the trench, use the “6-6-6-6 rule.” This means:
- Minimum six-inch base thickness, depending on soil conditions, load and climate
- Six inches beyond the toe of the wall
- Six inches beyond the hull of the wall
- Six inches embedment, or ten percent of wall height
You need to remove all topsoil and biodegradables from your trench. Excavation of your trench must be 12 inches deep and 22 inches wide. Begin excavation from the lowest grade point and dig uphill to maximize efficiency. Bench cutting into the slope with two feet of landing cut for every five feet of height is safer and more stable than excavating the slope mirroring the face of the wall.
Myth #2: All soil is the same.
There are three types of soil: clay, silt and sand. Using clay or silt for your soil-reinforced zone can be problematic. While clay is hard and cohesive, it retains water. Silt also drains slowly and is difficult to compact. Sand is excellent for construction because of how well it drains water. A 95% standard proctor density is needed for foundation excavation. That means air and water must be forced out of the trench, and 95% of the soil must achieve compaction.
The type of soil you’re building on will also affect the angle of repose of the wall. The angle of repose is the steepest angle of descent upon which a material can be piled without slumping. When you’re piling giant blocks, you want to make sure the foundation can hold them. For sand, the angle of repose is 25–45 degrees. For clay or silt, the angle of repose is only 15–25 degrees.
Myth #3: The faster you build the wall, the better for your business.
Your customers want their project completed as fast as possible, but they’ll understand when you explain to them that a retaining wall cannot be rushed. The ways the components of a wall interact with each other set the pace. Walls rely on gravity and friction to hold blocks together, so you need to take the time to clean the surface of your blocks between each course, using a hand broom, compressed air or vacuum.
A clean surface will maximize friction and block-to-block interlock. Dirt and debris in between the blocks will reduce friction and create gaps. Those gaps will multiply and widen as courses are added if you don’t take the time to be vigilant about cleaning the surface of your blocks. Slot widths exceeding a quarter of an inch can lead to backfill moving forward into your wall and damaging its integrity.
Avoid shortcuts like long vertical joints or bond lines. These will be points of weakness in your wall.
“When you’re building a pavement and it fails, there’s low risk,” says Pete. “If a retaining wall fails, people can really get hurt.”
Myth #4: Mortar should be used to strengthen the bond of the rocks of retaining walls.
Mortar can actually weaken retaining walls. The key benefit of segmental retaining walls is flexibility. Mortar will flake, crack and fail during the changing of the seasons when soil expands and contracts. The wall cap is the only component of the wall that should be glued or affixed.
Myth #5: Geogrid holds back the wall.
Geogrid is the fabric used in the soil-reinforced zone to keep different types of soil separate. Some people think geogrid is just a tie-back or a “dead man,” holding the wall against the lateral loads pushing it forward. The role of geogrid or geotextile is to stabilize the soil. Clean stone falls into the holes of the geogrid and combines with the gravity of the weight on top of it to lock in place. Geogrid increases the mass of the wall and reinforces the soil behind it.
Myth #6: Overlapping geogrid makes it stronger.
If sheets of geogrid are angular and the retaining wall is circular, that can cause gaps in the surface area covered. Despite these gaps, you should never overlap geogrid material. Overlapping changes the friction plane and makes the openings in the mesh of the geogrid smaller. Overlapping also makes it harder to level your next course of wall if your geogrid is uneven due to overlap.
Stagger the position of geogrid sheets for each course of your wall to increase its strength. It’s also necessary to backfill your wall one level at a time, in increments of eight inches or fewer, to prevent the material from applying pressure on the wall.
Myth #7: If drains are installed in the swale, then you don’t need drain tile.
Even if every aspect of your retaining wall is built to perfection, you still need drain tile or drainpipe installed. While a swale will redirect water behind the surface of the wall, it is not perfect. Some water will always make it into the ground around the wall. There is also the bigger threat of ground water shifting and weakening your wall.
A drainpipe needs to be placed at the bottom and behind the wall, usually four inches above the subgrade and encapsulated in four inches of clean stone, depending on the ground conditions. The grade at the top of the wall and the toe of the wall should be pitched to direct water at least four feet away from your wall.
Myth #8: The soil-reinforced zone should pitch away from your retaining wall.
The soil-reinforced zone should pitch forward 3° or 3/8 of an inch from the back of the excavated area toward the wall to allow water to flow to the drainpipe. Water is a lubricant for soils. It’s all about getting water to flow from the base of the wall so it doesn’t accumulate.
Myth #9: When using a cleaner on stone following construction of your wall, it’s okay to use a brush or power spray unit.
Brushes and pressure washers can damage the stone and cause further staining. If a wall or wall cap gets stained during the construction process, use the proper cleaner for the type of mineral. Give the cleaner the proper time to work, as it’s doing all the heavy lifting. If it’s a grease stain, household cleaners can work in a pinch, if you act quickly. If it’s a salt stain, vinegar can be effective. Anything acidic can cause corrosion, so follow manufacturer specifications. If you do need to use a power washer, never use one above 2,500 psi, and keep your distance from the surface of the stone.
Myth #10: The job is done when the wall is constructed.
A beautiful, sturdy retaining wall speaks volumes for your business, so the work isn’t finished when the last block is placed. The key is longevity and customer satisfaction. Walk your clients through the care and maintenance, stressing the importance of drainage and wall integrity. Discuss their plans for different types of vegetation to ensure they’re not going to plant a tree too close and hurt the integrity of the wall over time.
A job isn’t done if you’re leaving a mess. Clear your job site and leave it looking brand new to increase referrals. Neighbors are watching your trucks pull in, and they’re going to ask your clients how the job went.
Myth #11: You’re on your own.
There are many trustworthy resources available to help you build a retaining wall that lasts. You can learn more about building retaining walls and general hardscape construction at the Hardscaper Showcase—presented by Techo-Bloc—every January through March, visiting 20 cities across the USA and Canada. There’s also a weekly podcast featuring hardscape business leaders covering a variety of topics related to running and growing a successful business in our industry.
“To go to YouTube and find someone with lots of followers I don’t think is a good strategy [for learning business tips],” says Pete. “You want to get a lot of different information and pick people that you trust to plan your projects.”
The proper equipment can be your best friend, saving you time and money.
“Tools and techniques are the difference between success and failure,” says Alex. “Caterpillar has solutions to help you make sure excavation is correct and your wall is sound.”
Going to trade shows and talking to dealers about equipment can help you budget properly for what you want your business to be. Education helps you understand and use equipment in the way it was intended. When you think bigger, you can make your business thrive.


CAITLIN MADDOCK-BAHR
Social Media & Digital Strategy Manager
Caitlin Maddock-Bahr exercises her storytelling expertise as a social media and digital strategy manager. In this role, she not only helps Caterpillar connect with their audience, but helps customers connect with the brand.
RELATED ARTICLES
You’re here to get ideas to grow your business. Read on for machine insights and expert tips and tricks to get more out of every job.
-
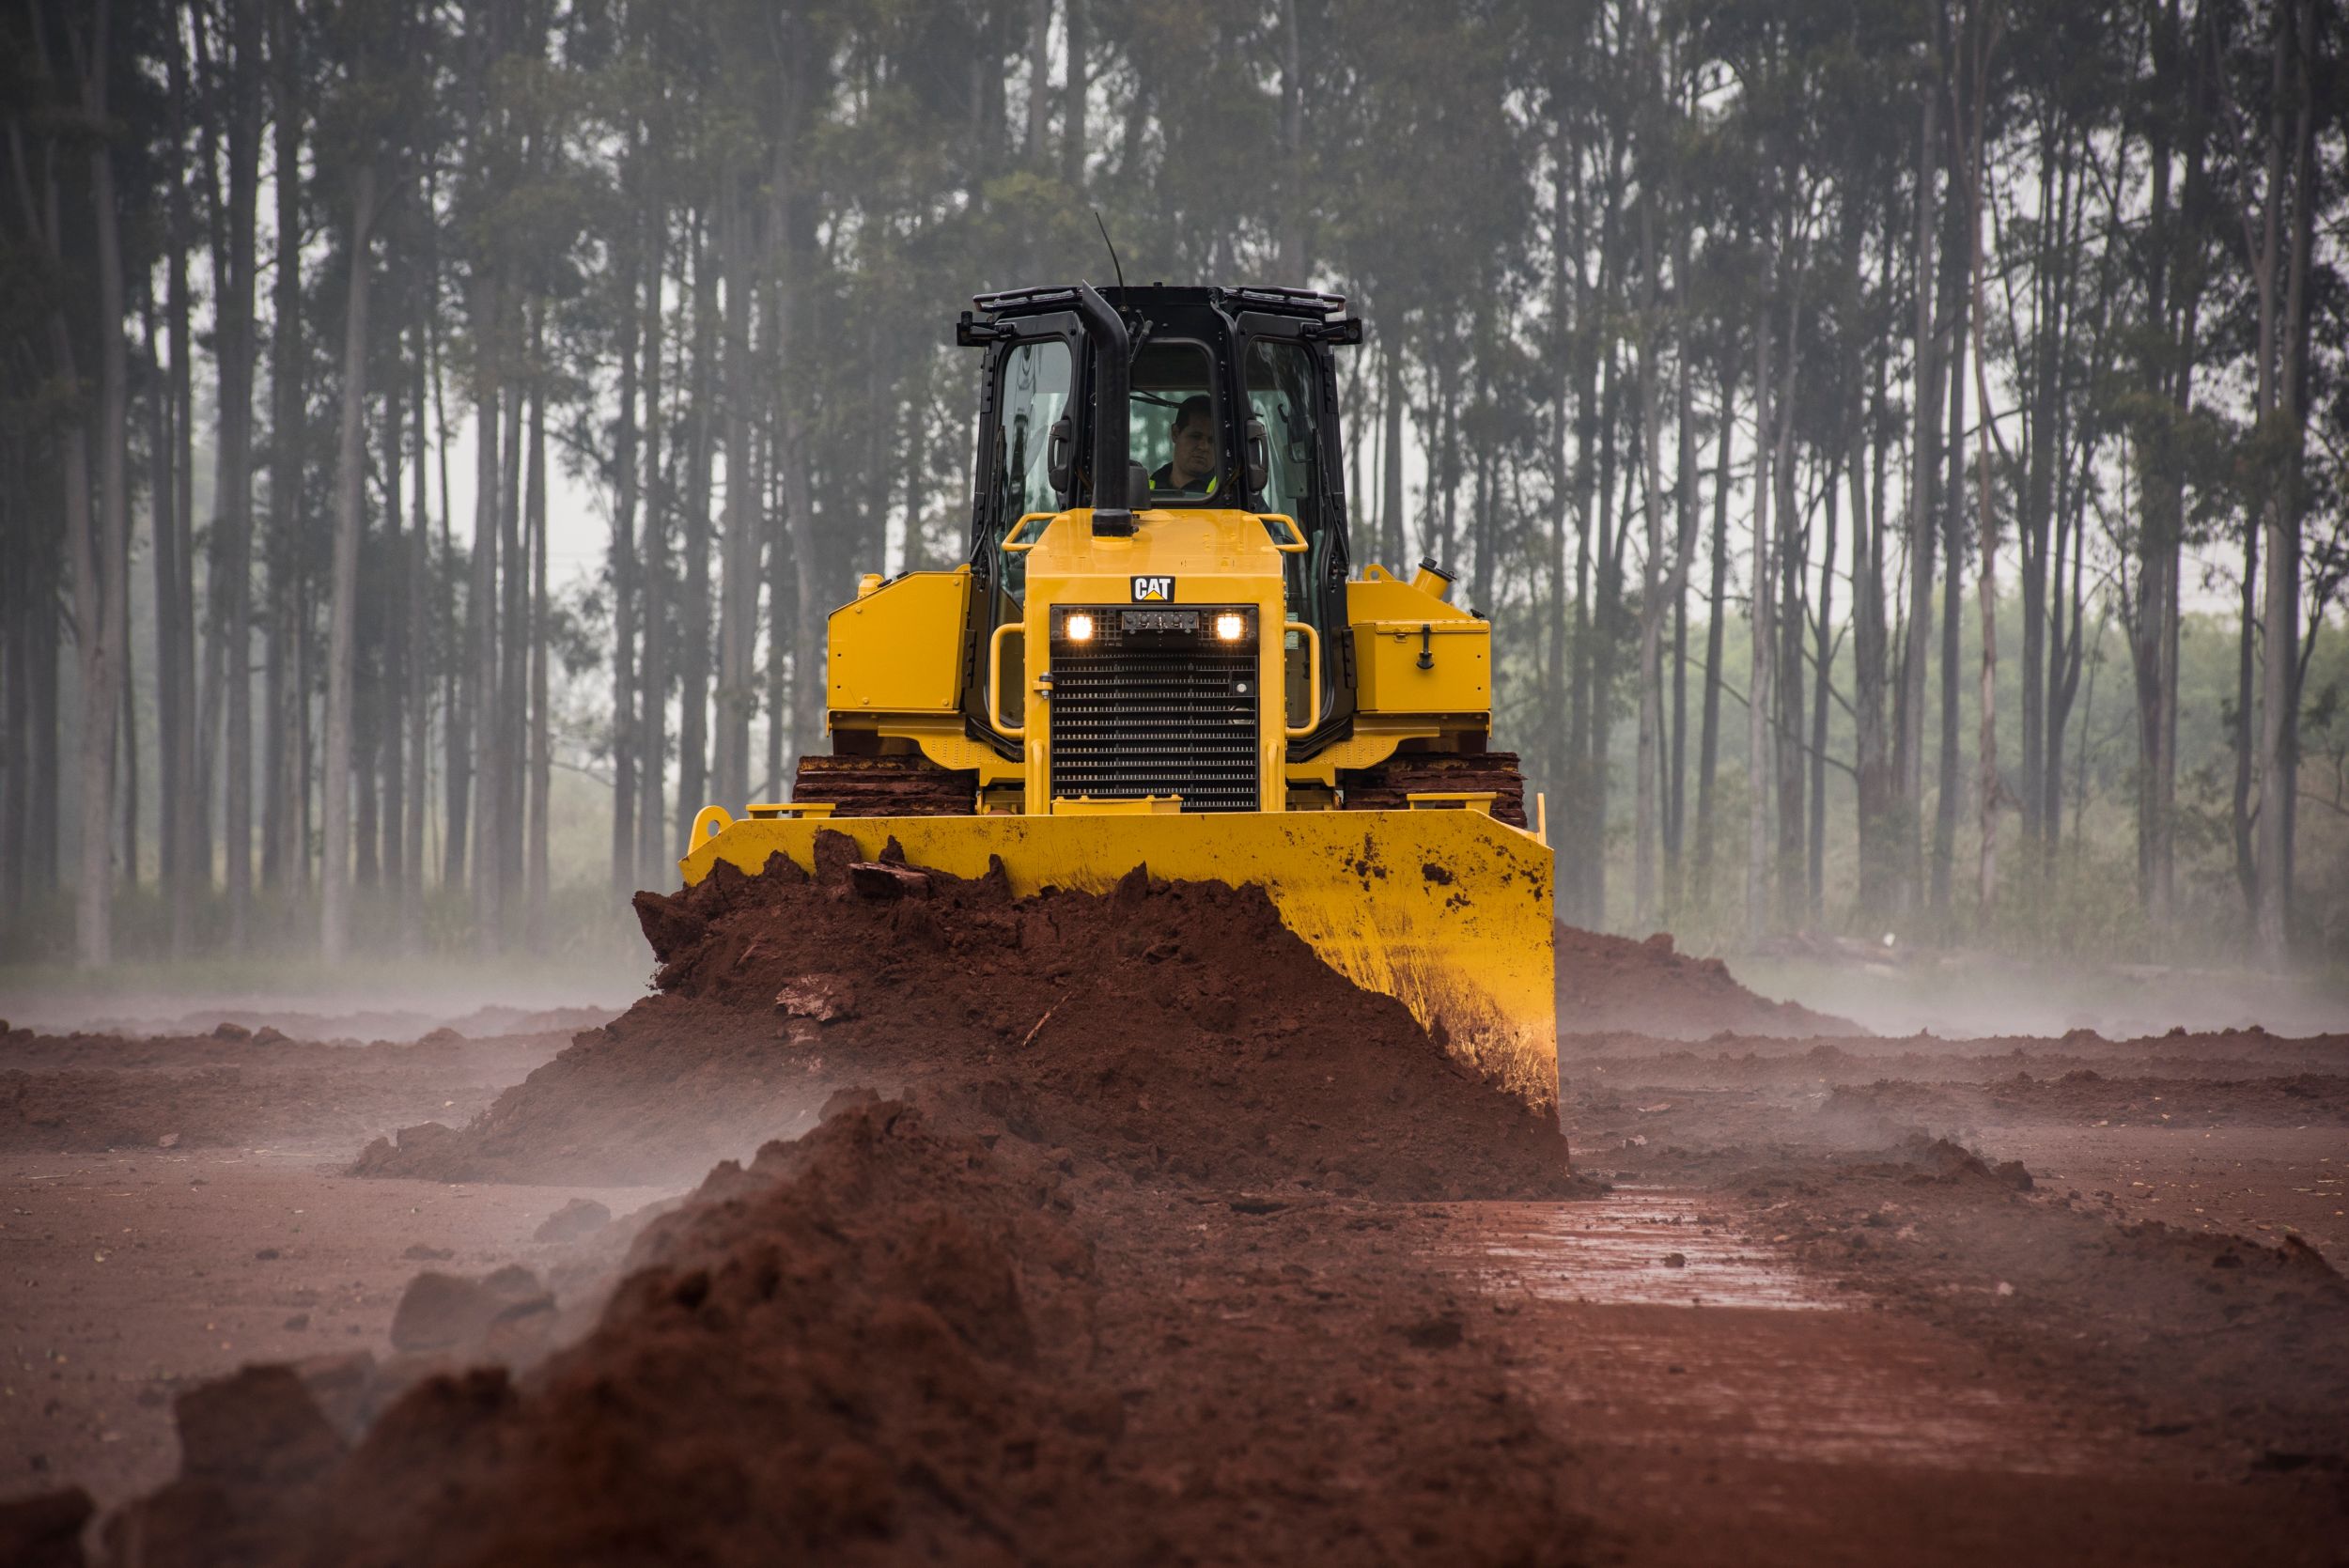
Your Guide To Slot Dozing Like A Pro
Want to increase dozing efficiency? Learn more about slot dozing and how it can benefit your dozing endeavors.
Learn More -
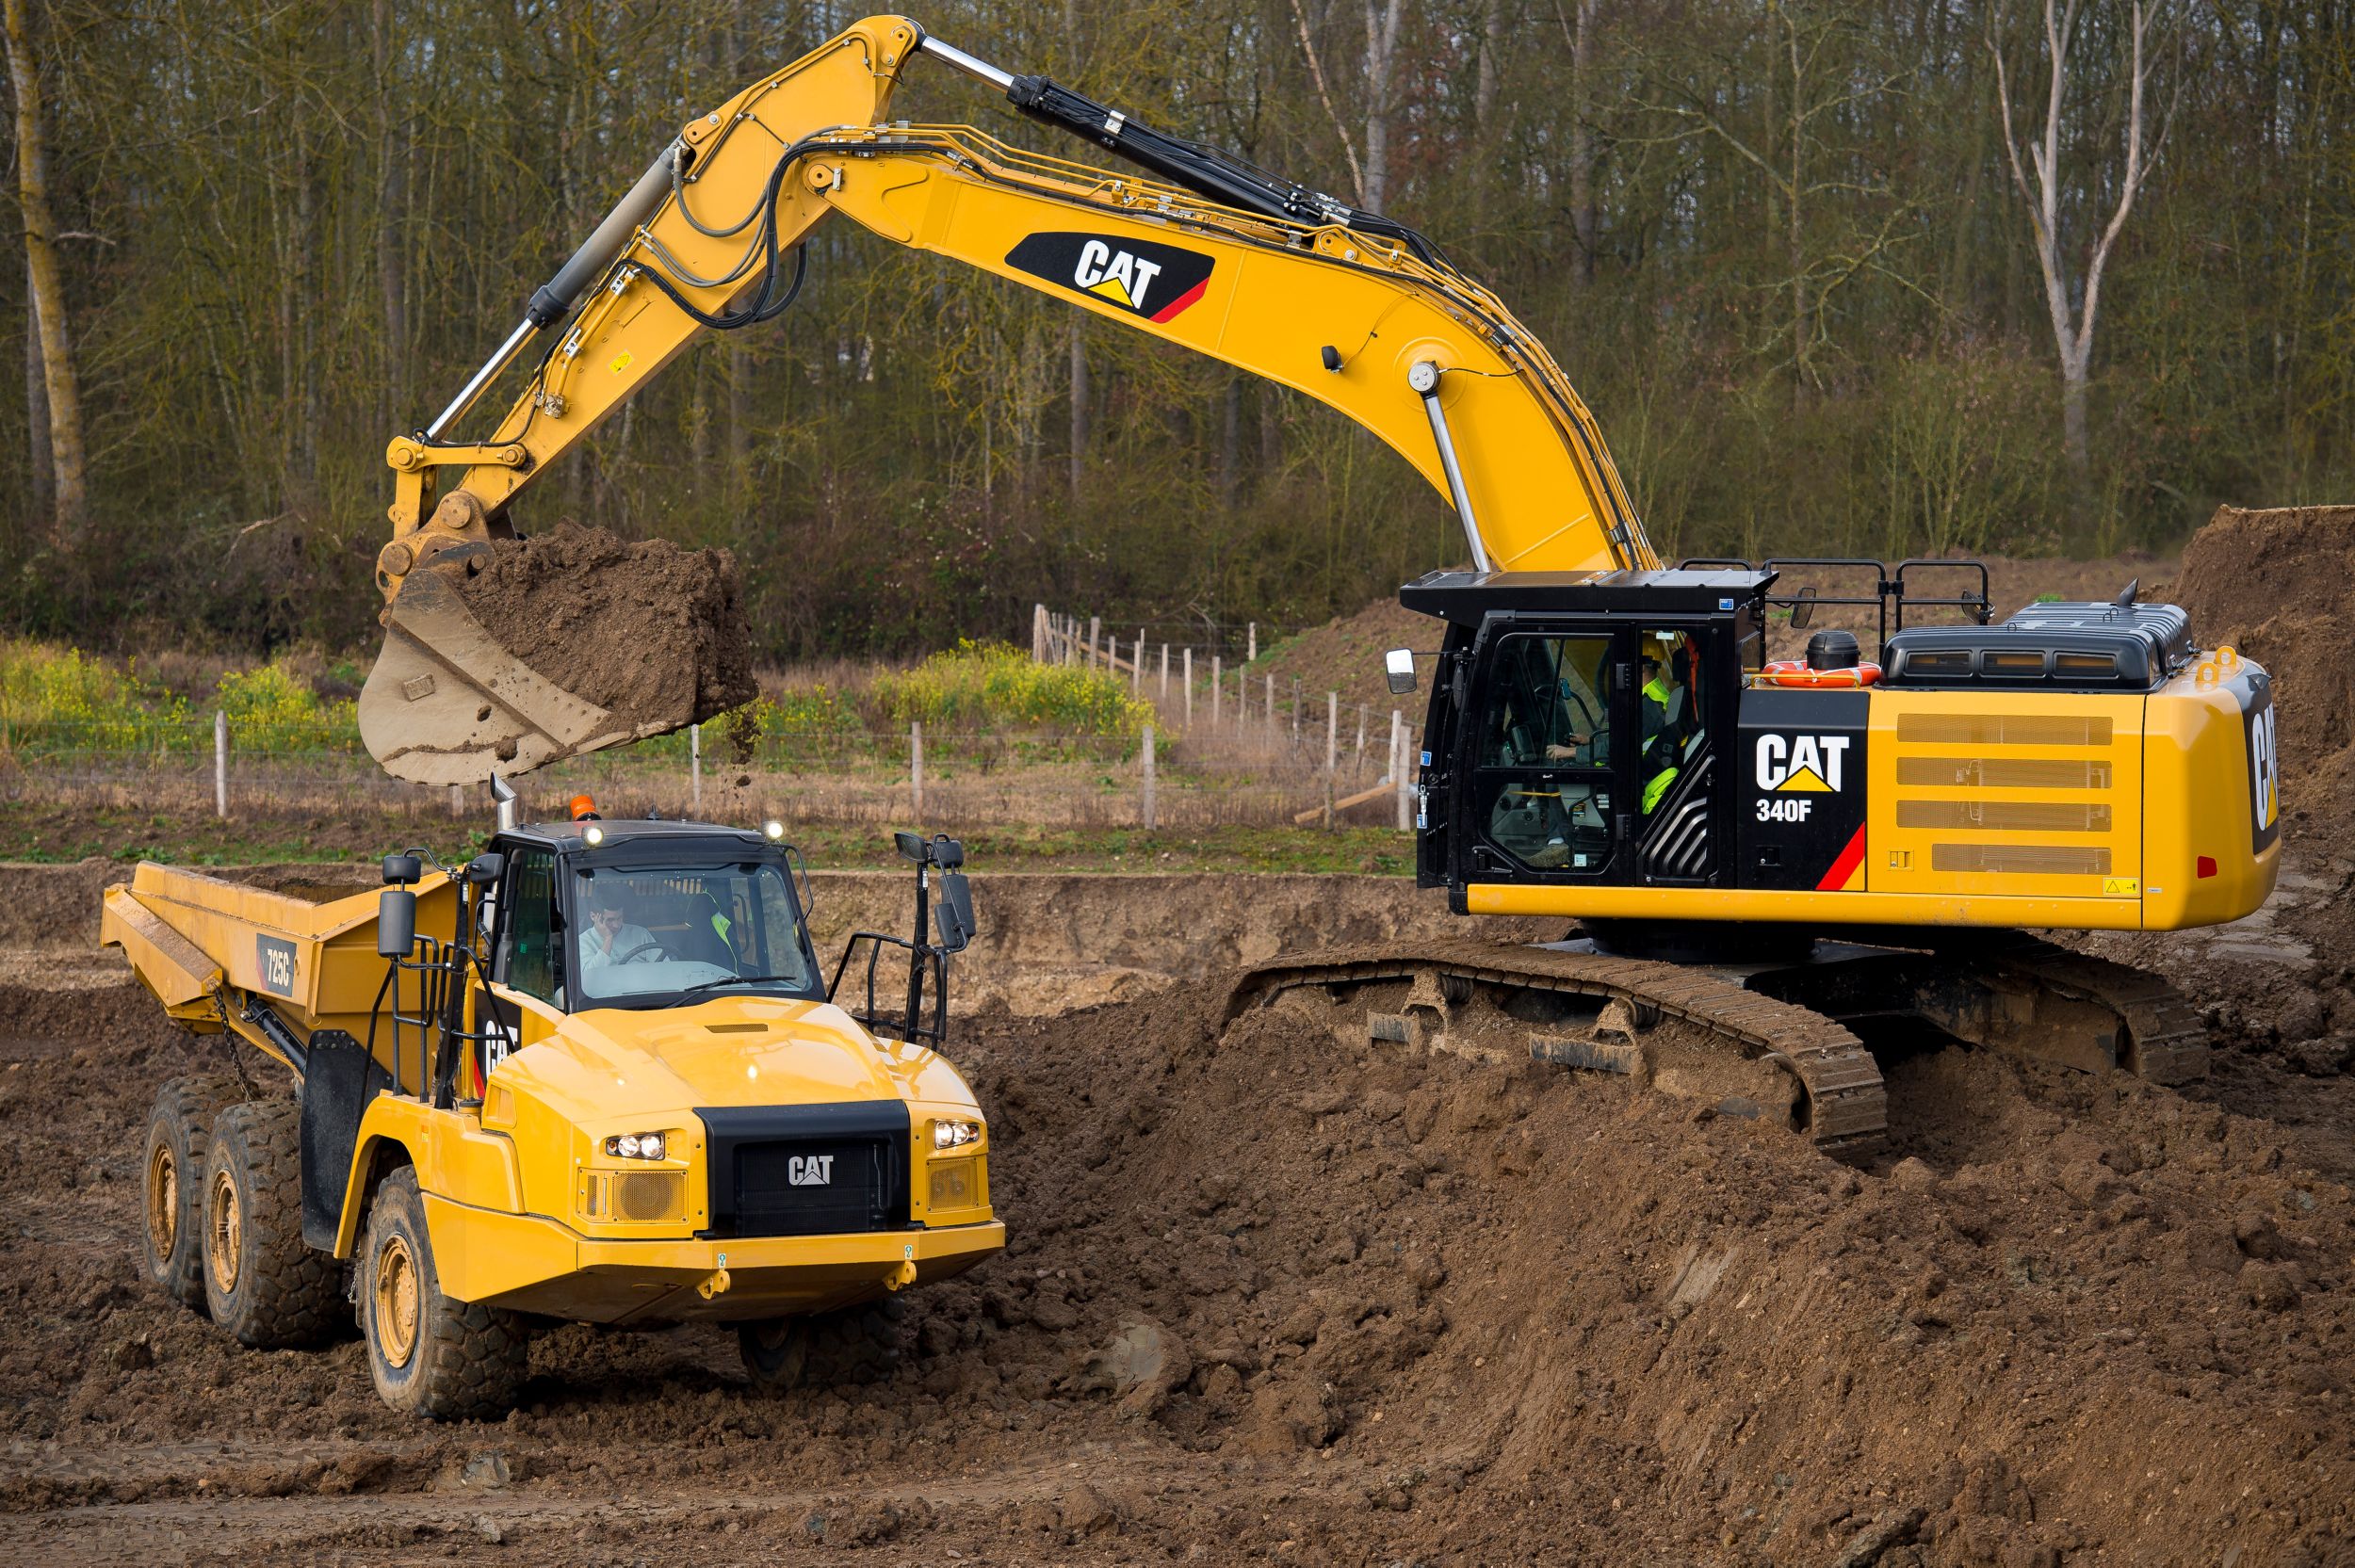
How to Measure Loose Density in the Field
Material Density determines bucket and machine choices. Construction companies often select the size of machine they believe is required and equip it with a standard bucket, but this approach might short change productivity.
Learn More -
Swell & Void Percentage, Load Factors
Learn about Swell and Void Percentages, load factors and how they can affect your fuel efficiency.
Learn More -
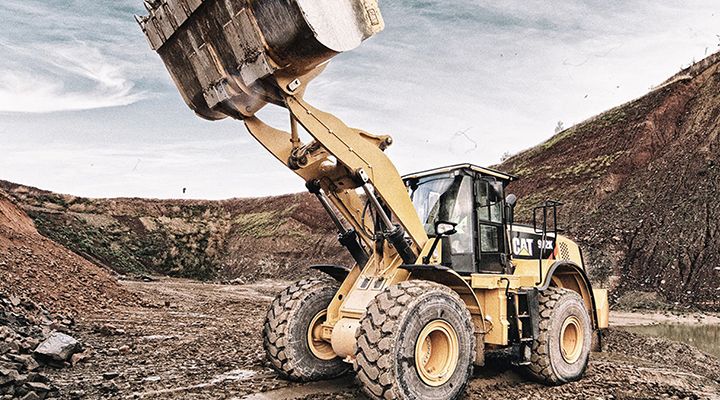
Optimize Wheel Loader Performance and Productivity
How do you optimize Wheel Loader Performance and Productivity? Take a look.
Learn More