Motor Grader Attachments for Snow Plowing

We know how difficult snow removal can be when those winter months come around. But we also know the satisfaction found in a job well done. Cat® motor graders help you keep roads clear, infrastructure operational and people safe in even the harshest conditions. And fortunately, our snow removal attachments are up to the challenge. 

Estimated read time: 6 minutes

Let’s go over the different motor grader snow removal attachments and the applications they’re best for.

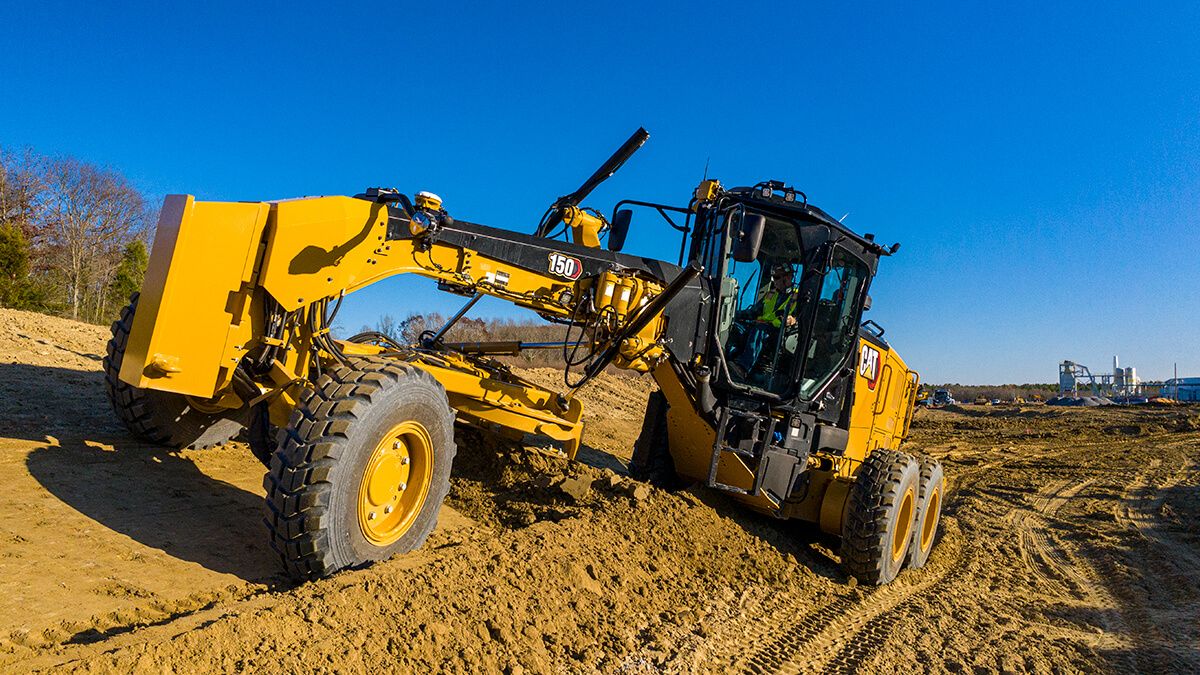
Your Cat® motor grader’s standard moldboard is the most used snow removal application. Use the moldboard to plow in relatively flat areas with low snow depths and without excessive drifting. You can also “wing” snow by repositioning the linkbar. 

Use blade float to prevent damage to uneven surfaces. Blade float isn’t recommended on roads with loose gravel to prevent windrowing gravel on the road shoulder.

The snow wing is an extra moldboard usually mounted on your grader’s right side, used with or without the standard moldboard or front plow. It provides a wider cleared area. There are two types of snow wings: 

  • Mast type snow wings are used to clear and throw deeply drifted snow. 

  • Mastless snow wings can clear and bench drifted snow, especially on shoulders, and can ramp up to a 40-degree bench height. 


Tips for using snow wings

Try to use a speed high enough to move the snow completely off the road without leaving a windrow. Windrows trap blowing snow and lead to drifting. Winging speeds fall in the 10-20 mph (16-32 km/h) range. But the ground speed needed to move snow off the roadway may vary, depending on the snow type and many other factors.

  1. Make sure your wing is horizontal to the travel surface.

  2. Do not apply down pressure unless it is needed to cut the material. It could lead to rapid cutting-edge wear or damage to the road surface.

  3. When using the moldboard-wing combination, try to have similar angles on both units for good material flow. To accomplish this,

    a. Shift the drawbar toward the wing as far as it will go.

    b. Use articulation to place the front wheels about 12-24 inches (30.5-61 centimeters) toward the wing.

    c. Use crab mode to resist sliding.

    d. Shift the centershift lock pin right two holes with the drawbar fully shifted toward the wing.


Techniques for snow wings

1. Benching

In situations with heavy snowfall or in areas prone to drifting, you may need to make extra room and bench the snow you remove from the road. 

a. Raise the wing about one-half the bank height in straight frame mode with the wing placed near horizontal position. 

b. Drive your grader along the base of the slope to cut a notch into the bank to make room for additional snow storage. 

This may require an optional rear support group to provide adequate support to the wing heel.

2. Tapered bank

Similarly to benching, create a tapered bank for more storage in areas with heavy snowfall, where ditches are full and where drifting is a problem. 

a. Place the wing toe at ground level with the heel set to discharge the snow uphill onto the bank top. 

b. Your grader may need the optional rear support group to support your wing heel for a tapered bank as well.

3. Winging down slope

This maneuver moves snow down a slope or ditch and places it as far as possible from the road surface. This reduces the chance of moisture from melting snow softening or damaging the road surface, lessens front end sliding and helps prevent the machine from getting stuck should the rear slide toward the ditch. To accomplish this,

a. Place the wing toe at road shoulder height and lower the heel to match the slope. 

b. Deposit material away from the travel surface.

c. Use a slower ground speed, crab mode and articulation, and place the front wheels 24-30 inches (61-76.2 cm) from the shoulder.

d. Place the tandems at the shoulder line. 

Wing angles are adjustable by the rear strut from approximately 30 to 45 degrees. Use the 30-degree wing angle and articulation to counteract the side draft on the machine. This will also reduce wing cutting width.

The V-plow is a front plow that is ideal for road clearing and heavy snow removal. It is designed to dig into and lift packed snow, with a steel nose piece and divider that cut into heavy drifts, throwing even compacted snow to both sides.

Here are a few operational tips to remember when operating with your V-plow: 

  • To prevent damage to your lift group, do not hit a snow bank at high speed with the plow raised.

  • In deep drifts, keep the frame straight on the first pass and hit the drift on the deep side with the plow close to the ground. 

  • Move the snow toward the low side of the drift.

  • If possible, work downhill for maximum efficiency. 

  • Penetrate the drift as far as power and traction allow. But be careful; the V-plow can become stuck in the drift.

  • After penetrating the drift as far as possible, use one-half of the V-plow to widen the path before attempting further penetration. When using half of the V-plow, offset your frame articulation about 10 degrees to reduce front-end sliding and to keep the tandems on a previously cleared path. 

  • Snow sliding off the banks can trap the plow and front wheels, causing problems when you attempt to reverse.

  • Normally in 3-4-foot (0.9-1.2-meter) drifts, moving one side is sufficient. In deeper drifts, use the V-plow to move back both sides of the cut before making the next cutting pass. 

  • After the first pass through the drift, use one half of the V-plow to move snow off the road surface. Then use your moldboard and wing to finish the clearing process.

  • Stuck in a drift? Use wheel lean and articulation in a side-to-side motion to help free your V-plow. 

There are several prominent types of front plows in addition to V-plows:

  • One-way plow 

One-way plows cut into high, packed snowdrifts with a steel piercing edge, throwing snow to one side. The one-way plow mounts on the motor grader like the V-plow, but it’s lighter duty and intended for lower snow depths. It has a fixed angle of about 30 degrees to the main frame, and its angle and direction of material flow cannot be changed. 

  • Hydraulic angle front blade 

Need to plow snow in different directions? Hydraulic angle front blades provide 30 degrees of angle capability to the left and right. These blades are also available with cutting edges that trip to prevent road and plow damage. 

  • Hydraulic U/V-plow 

This versatile blade uses auxiliary hydraulics to switch between straight blade, angle blade, U-blade or V-plow functions. It’s used extensively for snow removal. 


Remember: Always refer to your Operation and Maintenance Manual for guidance on maintenance, safety, settings, features and more.

Are you also considering tire chains and snow tires? Check out our snow tire and chain tips as well as more operational safety tips. And learn more about motor grader snow solutions with these equipment kits.

MOTOR GRADER OPTIONS

Learn what else the family of Cat® motor graders can do for you.

SEE LINEUP
MOTOR GRADER OPTIONS


Once You Own, You're In

Gain unlimited access to must-know information about your machine. Find ideas you can put to work on the job right away, including business insights.